- 9700414 OCEANSIDE OA 355-1s-F
Step 1
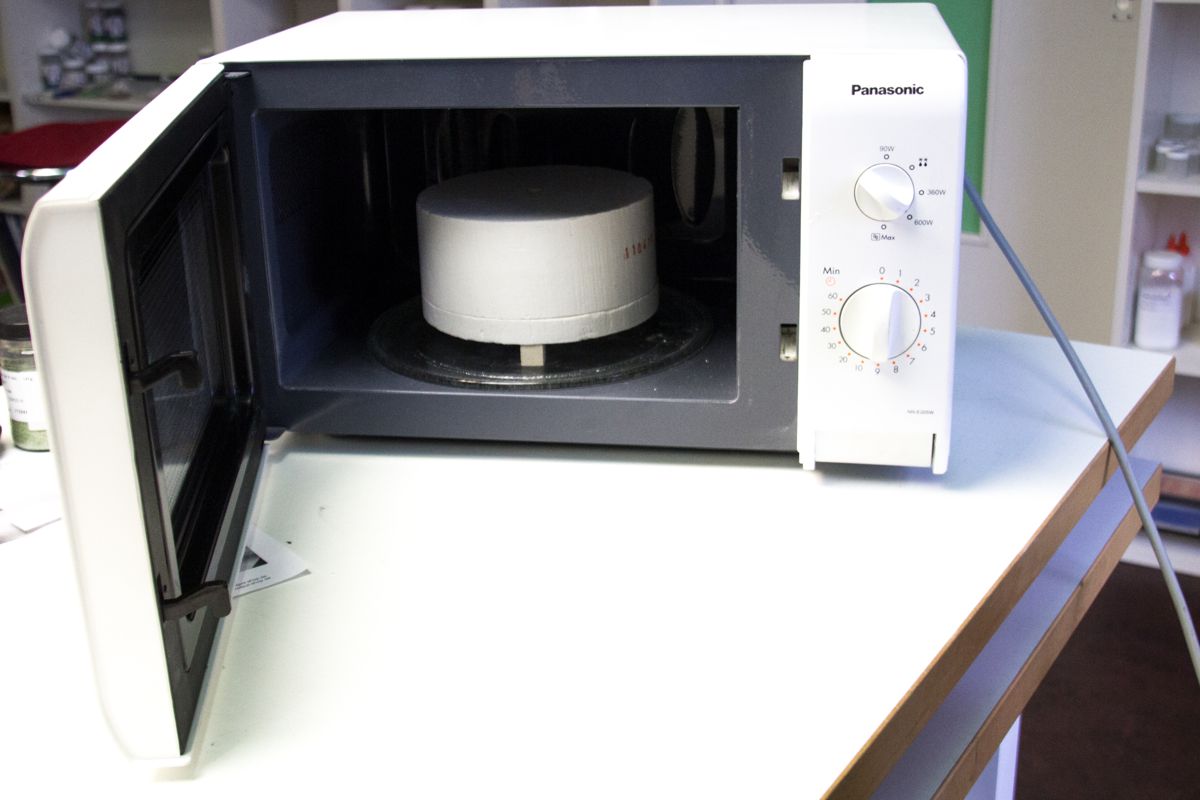
Place the microwave to a working table with enough space. The microwave and the kiln shelf should be placed beside each other. Take away all flammable materials. Place the heat-resistant gloves ready. If the microwave has a rotating plate, put it on shortly and observe how much the turntable "jerks" - if it is too strong, just take it out. The small blocks belonging to the microwave kiln are placed in the microwave with some distance. The kiln is placed on them later on. Never place it directly on the floor of the microwave! (For further information on the microwave kiln, please have a look to the enclosed manual.)
Step 2
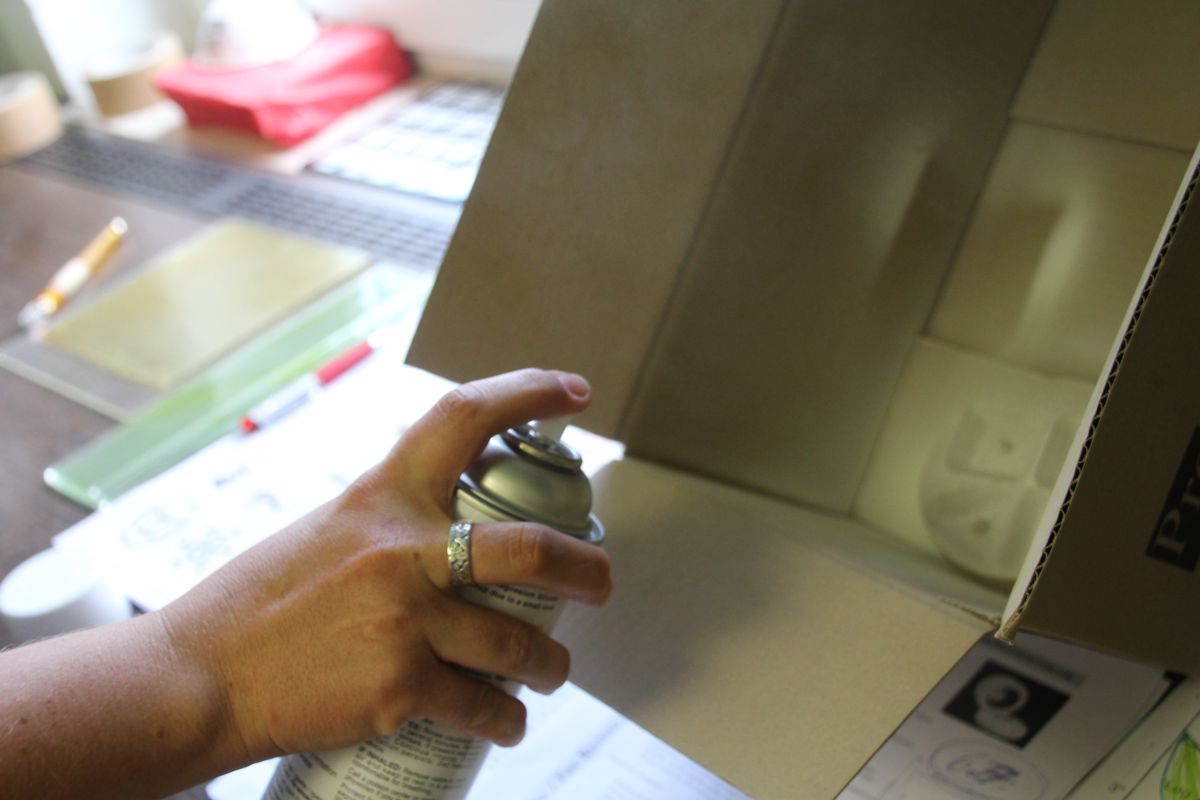
Spray the casting mold with the Boron-Nitrite-Spray. Place the mold in a small carton, the spray spreads heavily in the air. Please wear a fine dust respirator! You can dry the mold in the microwave (without kiln and glass) for 30 seconds at about 600-700 watts.
Step 3
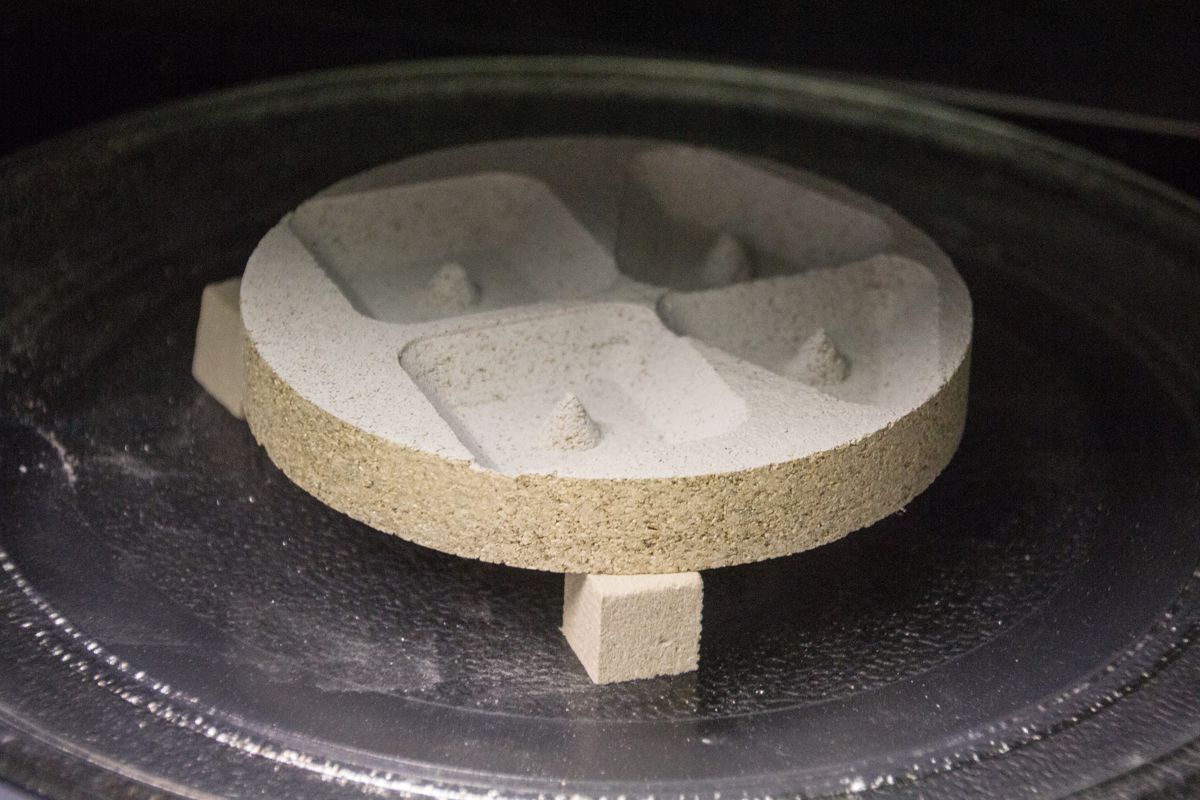
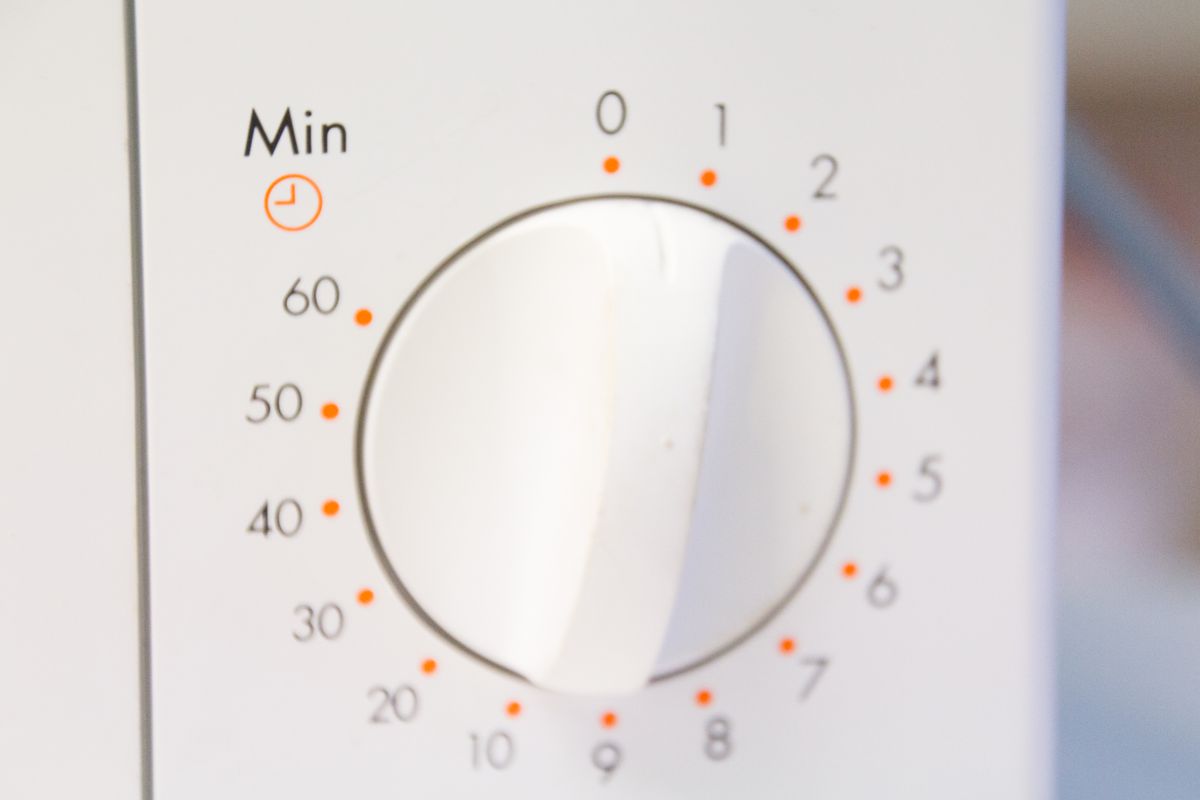
The microwave kiln should be pre-heated. Place the Hot Pot on the small blocks. Set to about 600 watts (depending on the model it can also be 700 watts) with a time of 10 minutes. The kiln now slowly warms up. Observe the kiln! In the lid is a small hole when this starts to glow the kiln has about 700 ° C and is ready. Depending on wattage and setting it can need 5 minutes or even 10.
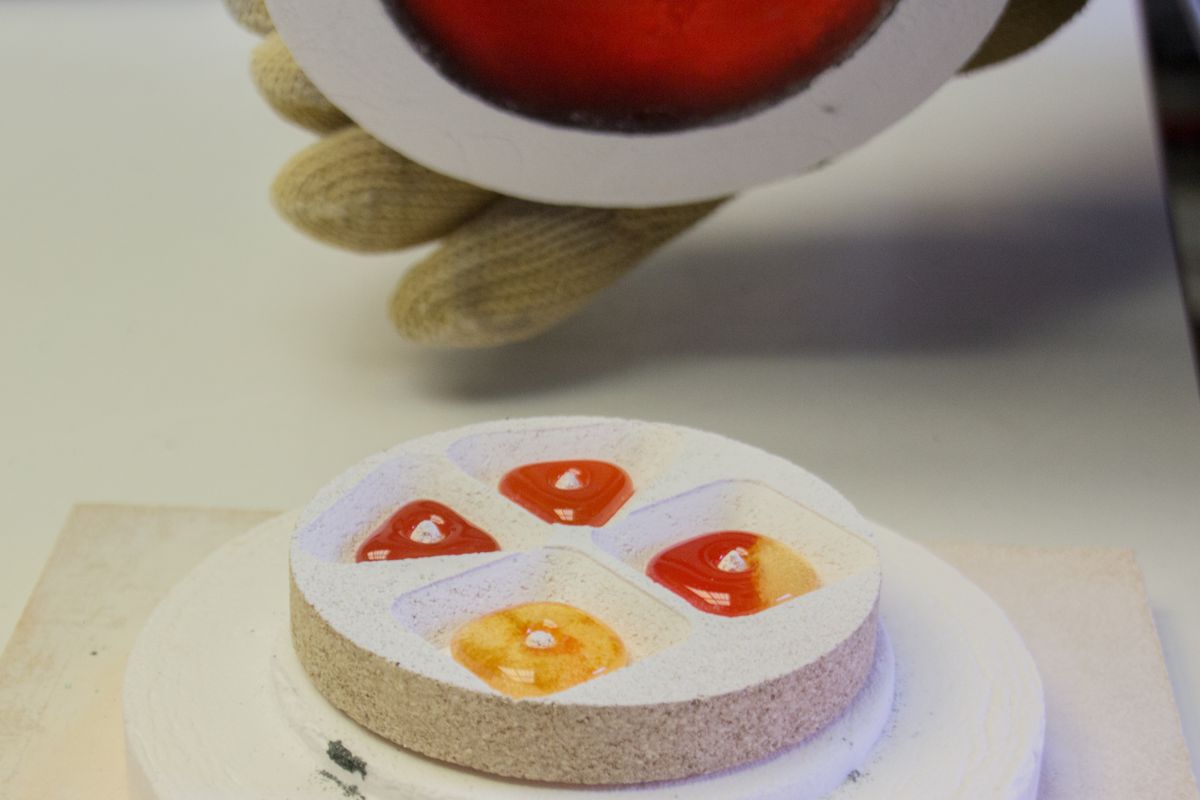
Step 4
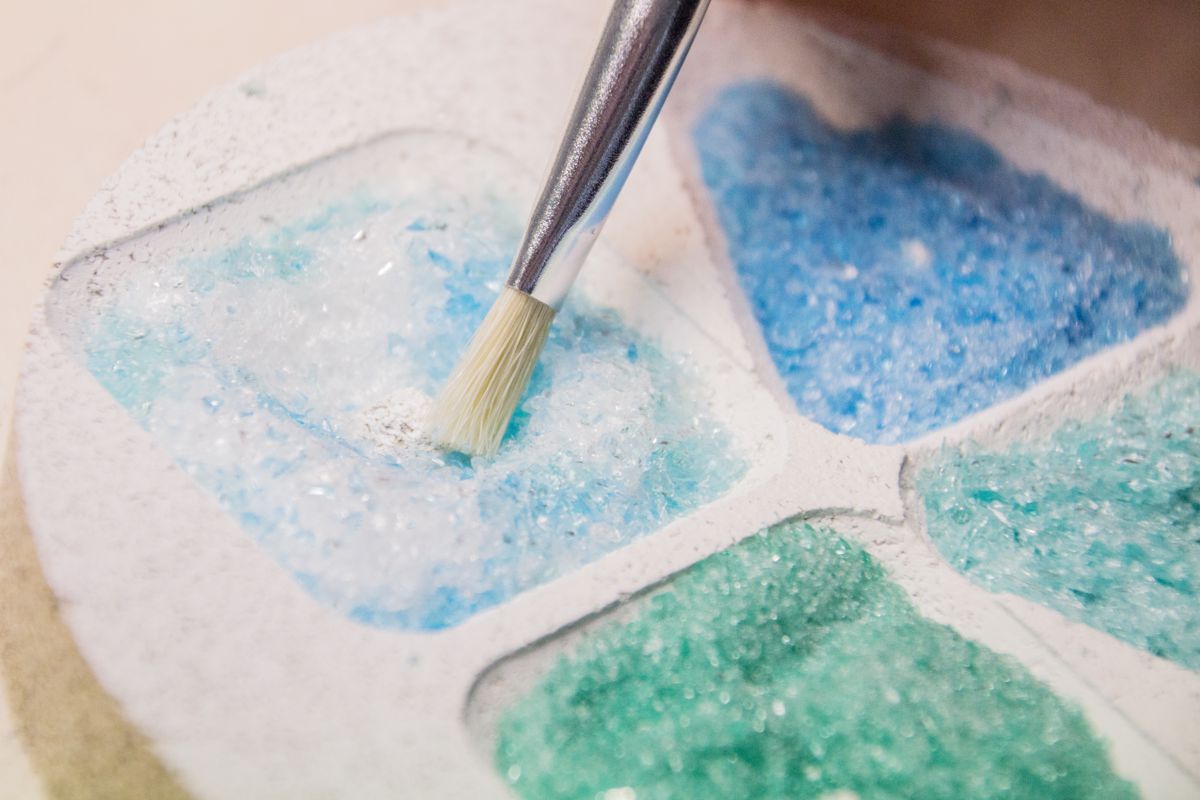
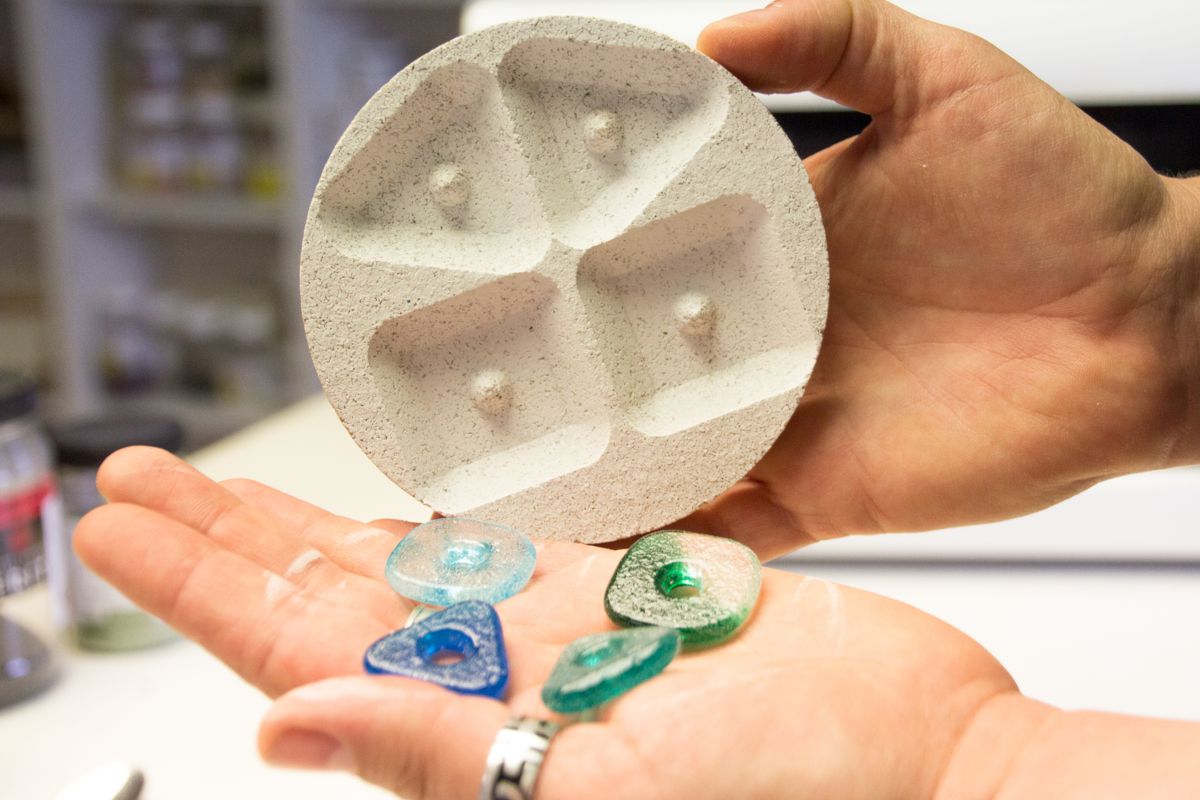
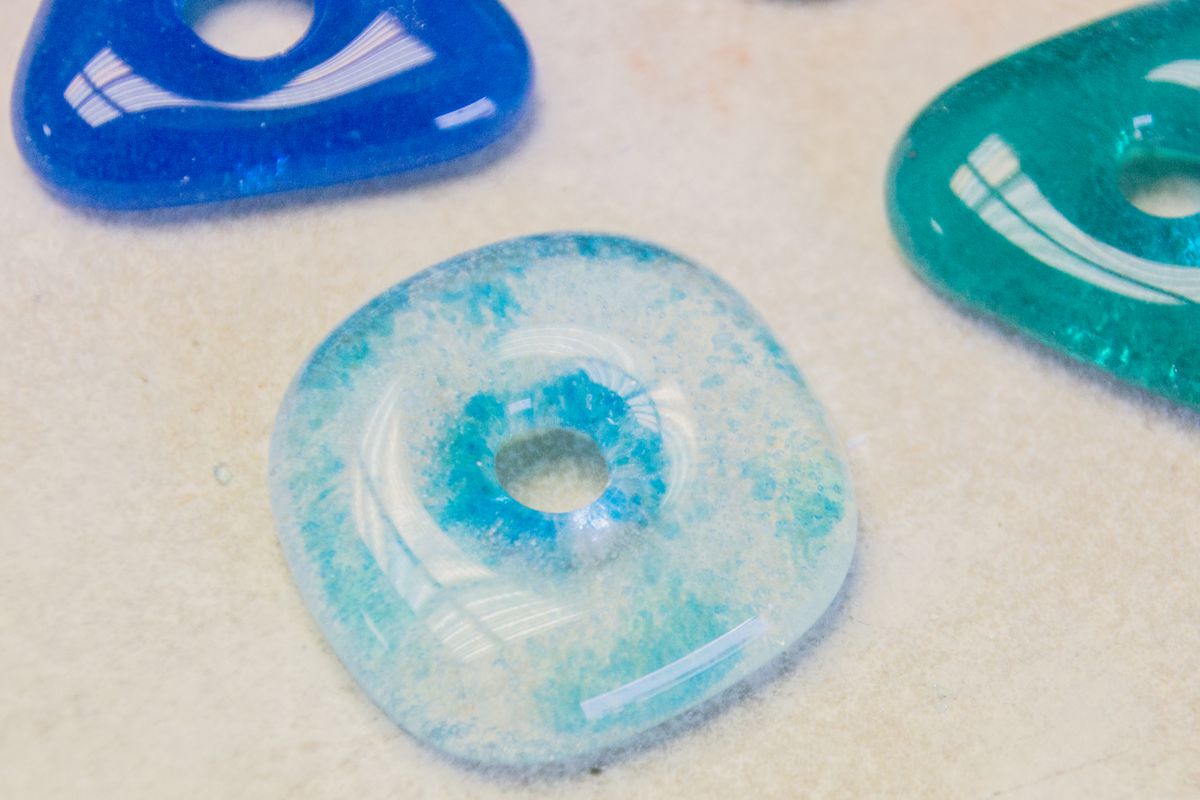
In the meantime you can fill the casting mold. Always use fine frits, these are melting in the kiln best. Fill the mold as desired. Overfill the form a little bit, there should be small hills, the edge area and the central elevations remain free.
Step 5
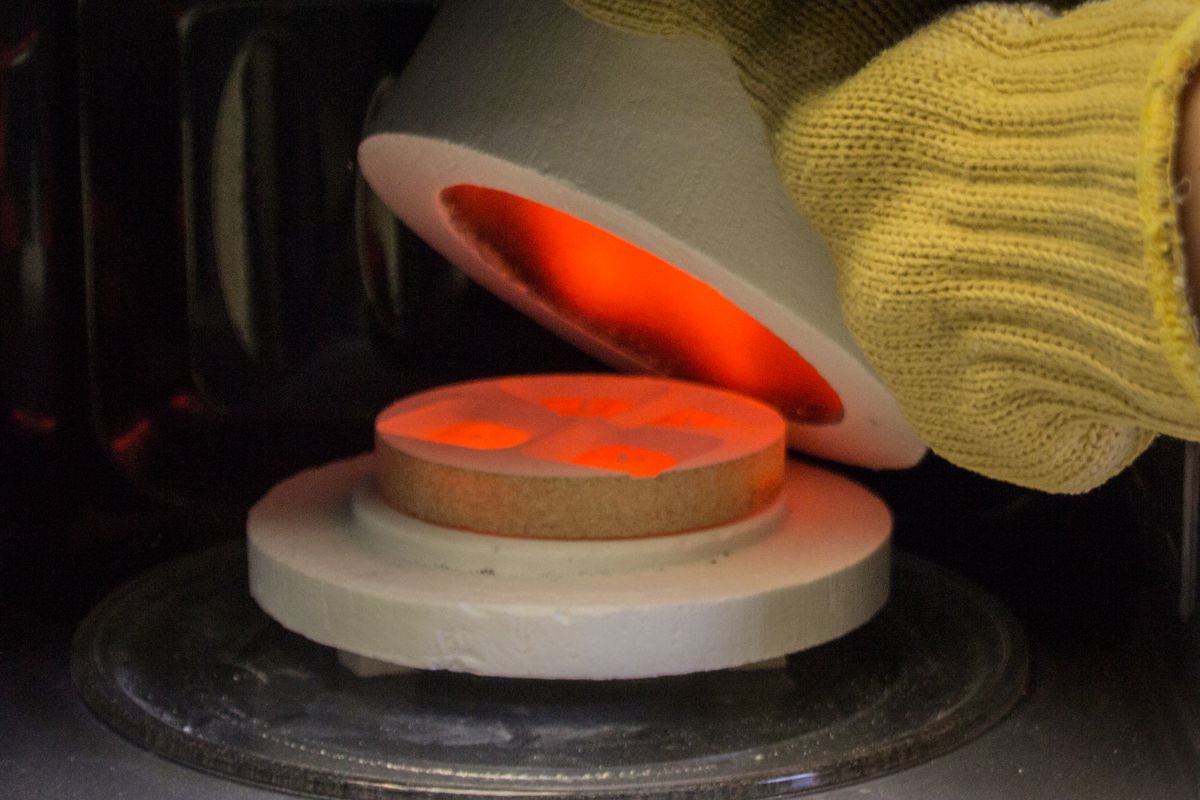
Always take the kiln with the heat-resistant gloves out of the microwave. The kiln is getting very hot inside and outside! Place it on to the kiln shelf. Gently lower the lid. Now place the casting mold centered on the base. Replace the lid and place the kiln back in the microwave. Leave the setting at 700Watt.
The fusing time varies from color to color and microwave to microwave. Start with 5-10 minutes. Once you see that the hole in the lid starts to glow, interrupt the melting and gently lift the lid to see how far the glass has melted. If it is not enough, close the lid and continue heating. Then, check for a distance of about 1 minute how the glass is melting. If you melt the glass too long, the shape and the color can change, the glass will be pulling together too much.
Step 6
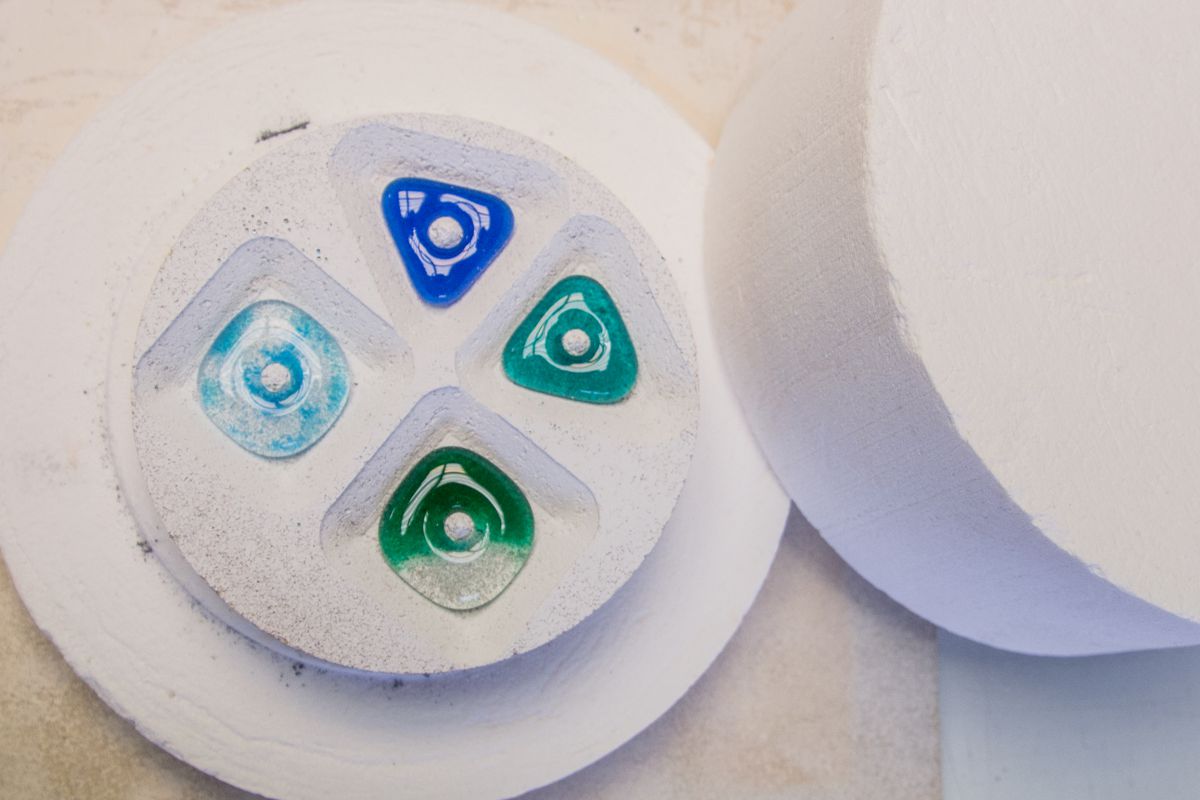
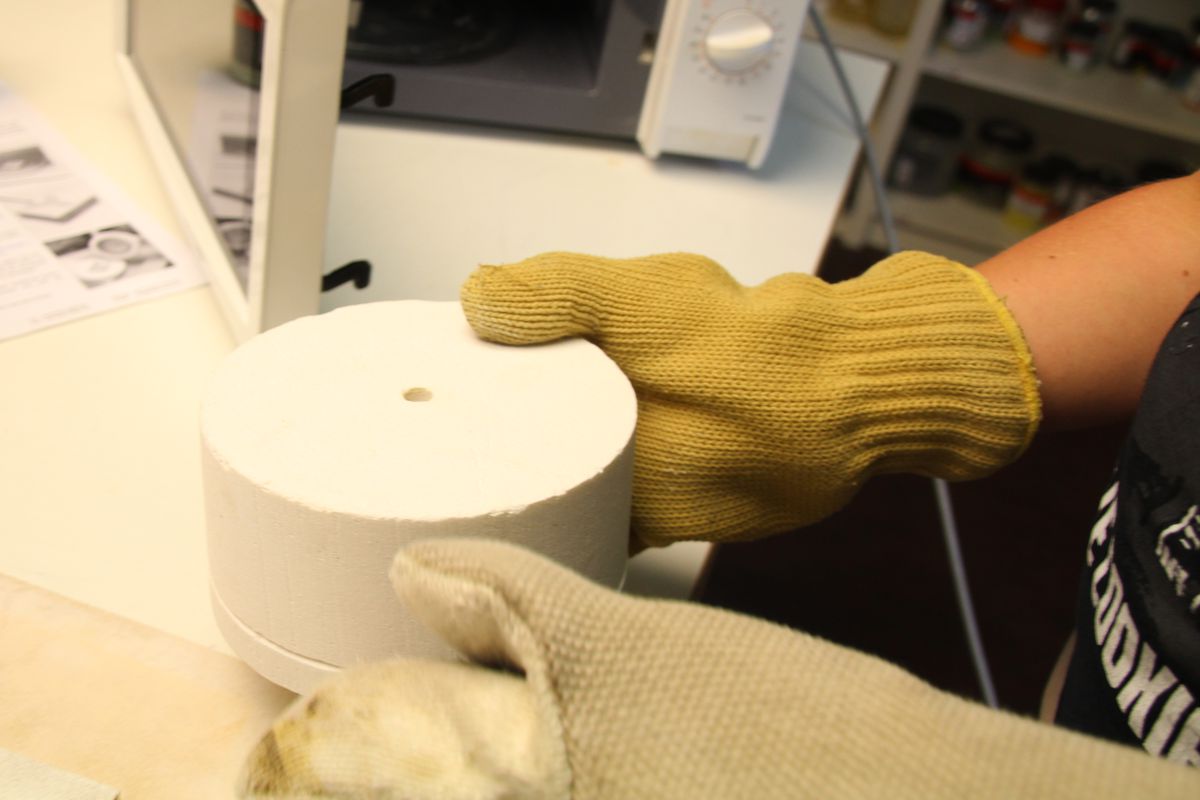
When the glass is completely melted, remove the kiln from the microwave (do not forget the heat-resistant gloves!) and place it on the kiln shelf. Allow the jewelry to cool down in the Hot Pot. Depending on the ambient temperature and the shape / glass size, this can take up to 2 hours.
Step 7
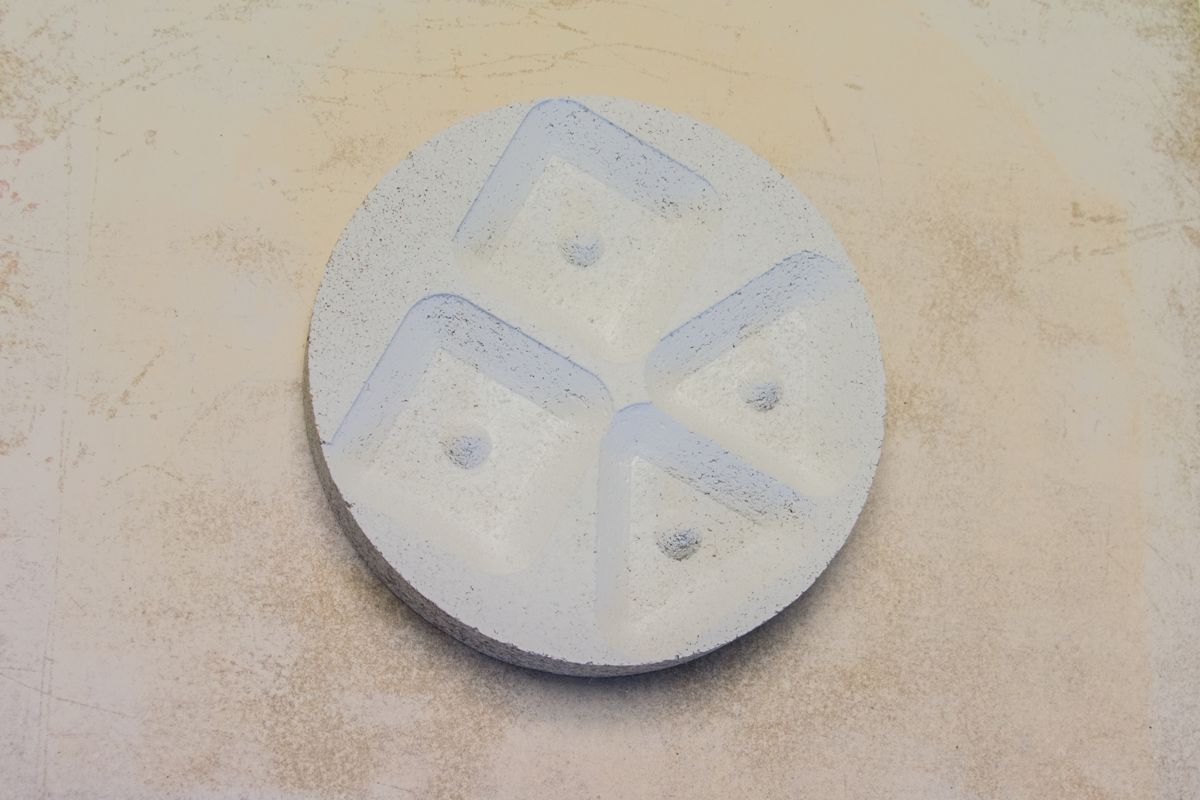
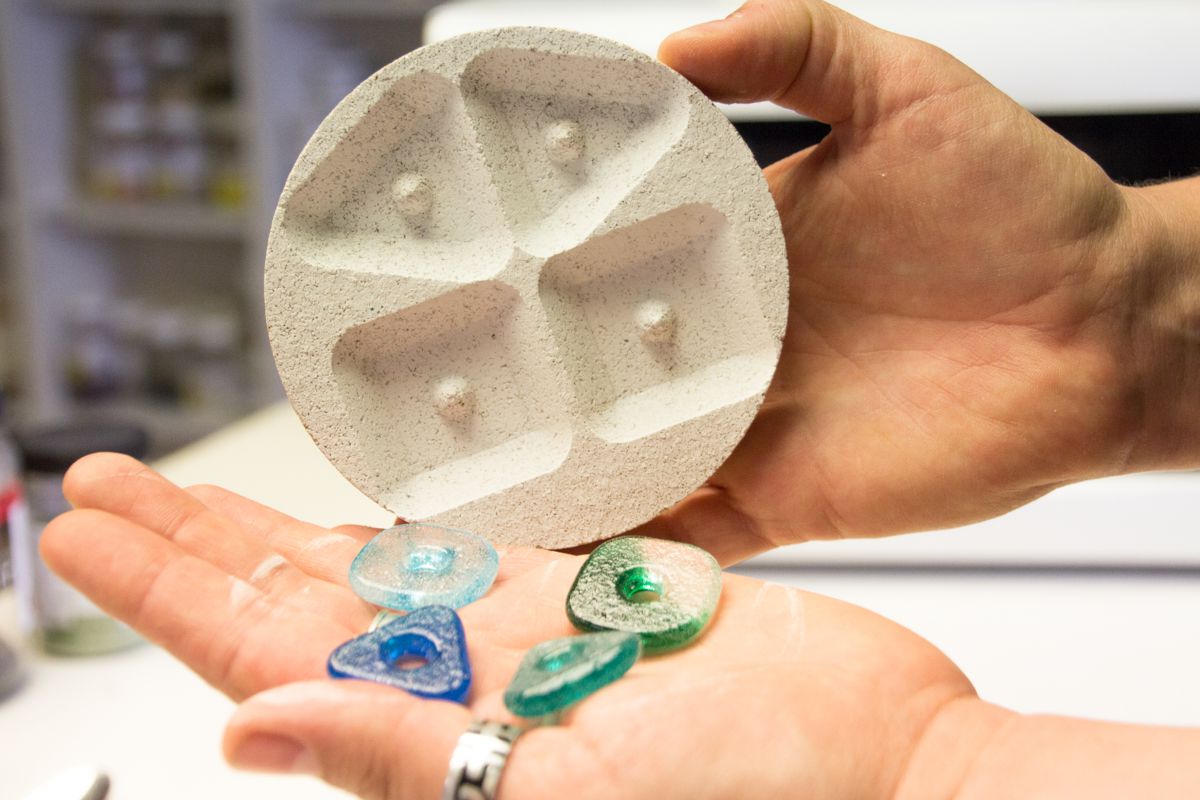
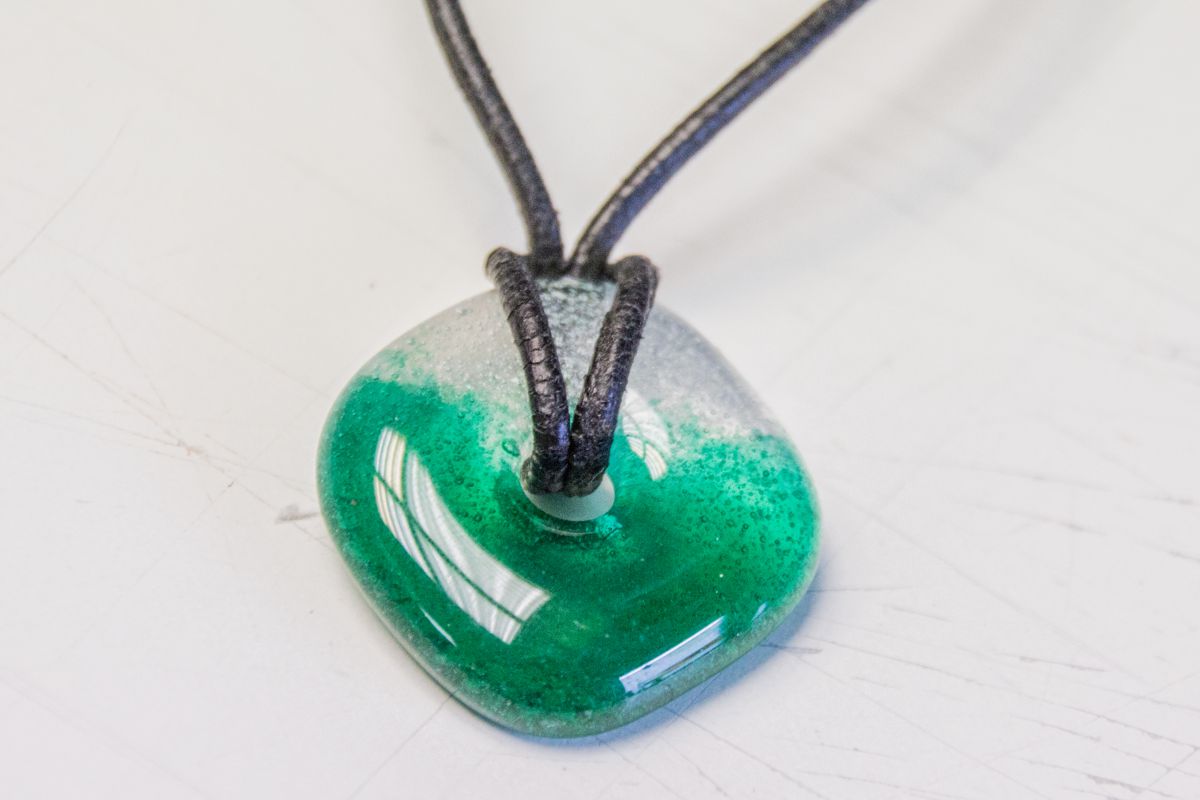
Now you can remove the jewelry from the mold. Turn the shape carefully, the objects should fall out easily. If not, tap the mold very gently on a soft surface. Do not knock too hard! The molds are sensitive and can easily break.
For next using clean the mold with a smooth brush and spray again with ZYP-MR-97.
Information
If you observe that the glass melts only on one side, turn the lid slightly. It may heat up unevenly, causing different melting points. This will be reduced by turning. The colors melt differently. Make samples and write down the melting times of the colors. When you fill the jewelry form, choose colors with the same times to melt all the pieces.
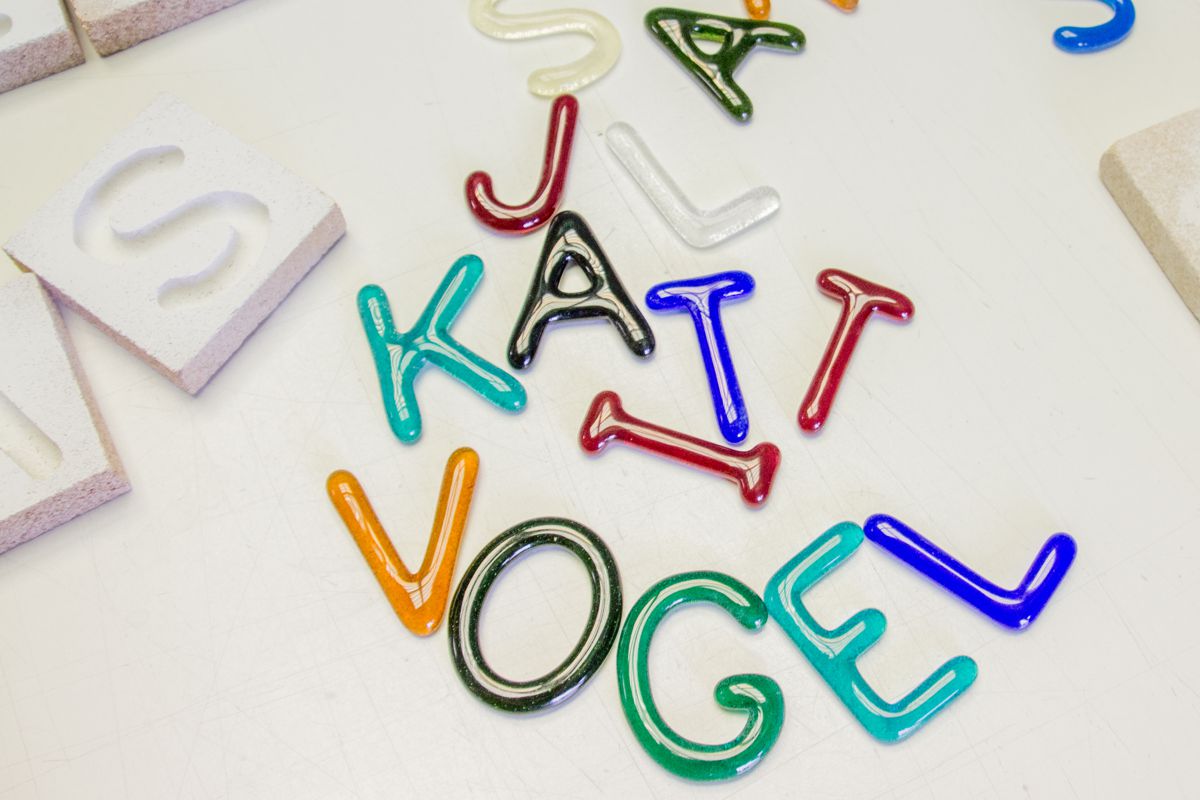
Other possibilities!
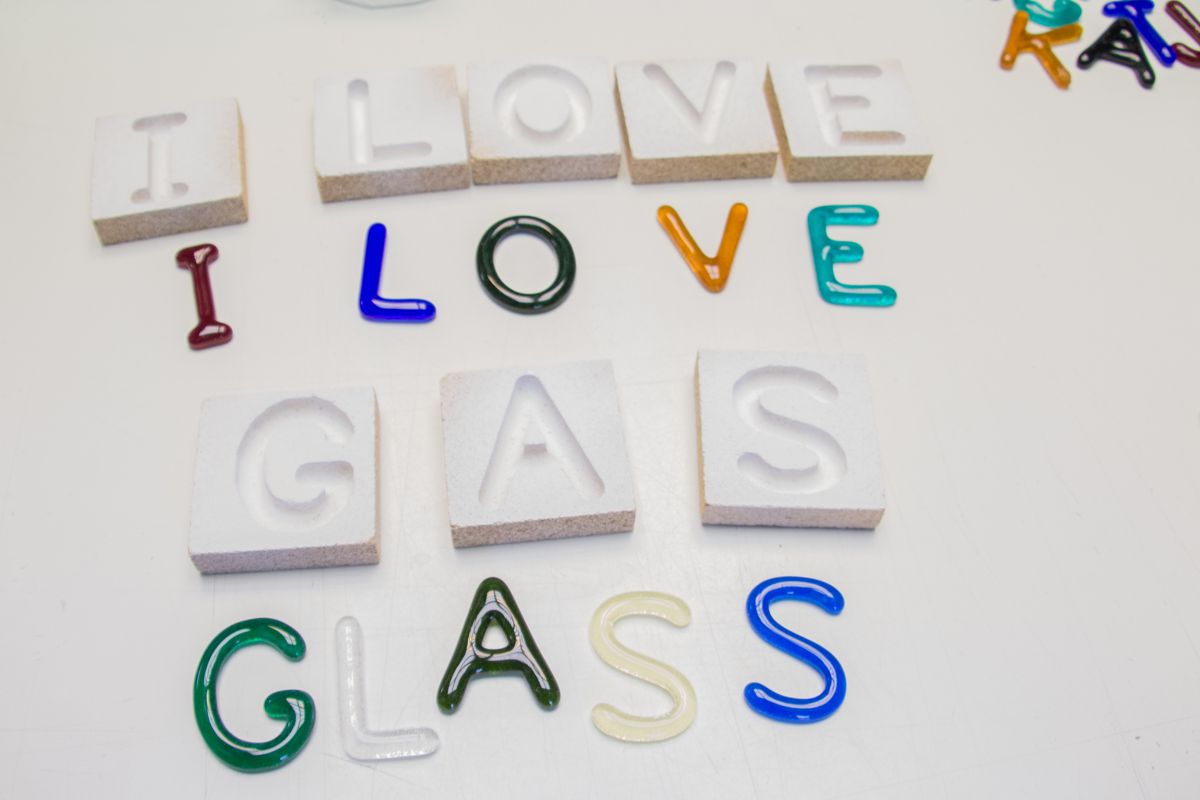
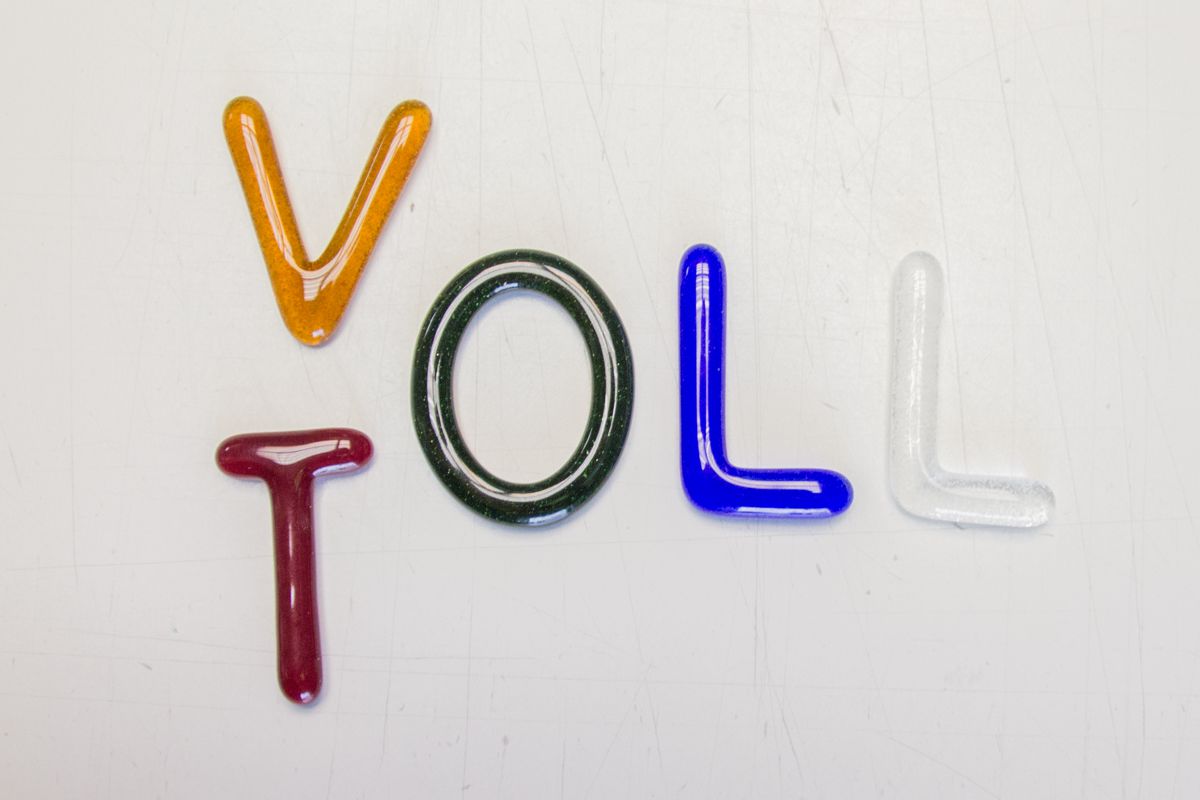
If you have the letter mold, you can make whole words and sentences. In combination with the numbers you can also create house numbers and door signs by sticking the letters, or ...
Firing cycle *
1. 60min - 500°C
2. skip - 780°C
3. 30min - 780°C
4. skip - 520°C
5. 60min - 520°C
6. End
* All information without guarantuee / fusing temperatures must be adapted to the respective kiln
These are the products we used in the project